Manuals
My Nextbase Player
Firmware
My Nextbase Connect Mobile Apps
FAQs
Videos
Manuals
Owner’s manual
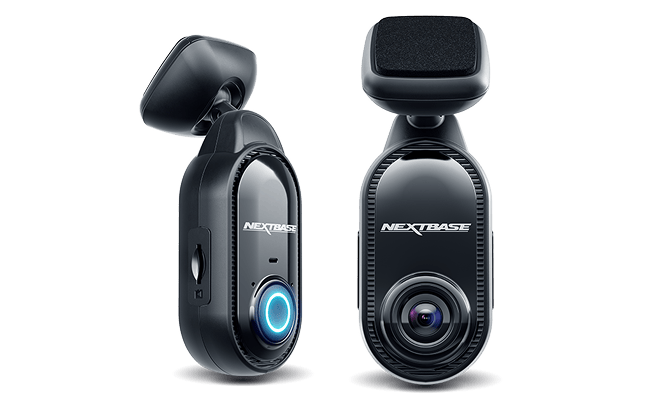
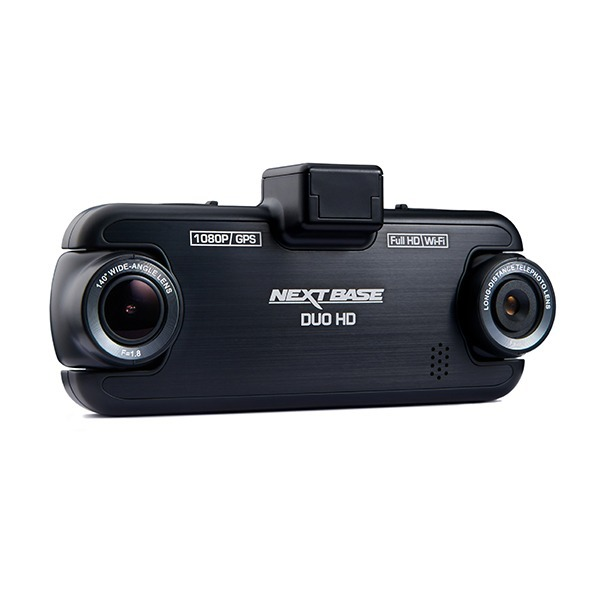
Here you can find the latest DuoHD manual.
Manuals
Firmware
Firmware for your product
Here you can find the latest firmware for your DuoHD Dash Cam.
Firmware
FAQs
1.How do I check my Dash Cam's current firmware version?
1) Turn the Dash Cam on
2) Stop it recording
3) Press the Menu Button Twice to enter the Setup Menu.
4) Scroll down to ‘System Info’
5) Look at the Firmware number RXX.XX
It should be on R10.7.
2.Why do I need to update my Dash Cam’s Firmware?
Our Developers are always working to improve the functionality of our cameras and provide new features, such as different languages. We can do this even once you have your camera by releasing new firmware. To benefit from these improvements and updates, please check your Dash Cam's firmware and update it if there is an update available.
3.How do I update my Dash Cam’s Firmware?
Updating the camera's firmware manually is a simple process. Please download and follow the below update guide:
1.How long should the battery last?
The DuoHD has an internal battery for emergency uses, such as the loss of power during an incident. This will allow the camera to continue recording to the end of the clip before switching off. This internal battery has around 10 minutes of battery life.
2.Can the battery be replaced?
Please contact our Support Team at support@nextbase.co.uk, Live Chat or 02920 866429 (UK) for a battery replacement.
3.My battery keeps dying. What can I do?
I'd recommend performing a battery test:
1) Take your Dash Cam inside and plug it into mains power or a computer using the Nextbase provided USB cable.
2) Remove any rear Cameras or SD cards and press the reset button on the underside of the Dash Cam. Then turn the Dash Cam on. Please turn Parking Mode off and turn Screen Saver off as these could interfere with the test results.
3) Let it charge for 2-3 hours whilst turned off.
4) Unplug the power cable, turn the Dash Cam on and time how long the Dash Cam stays on for. The time it takes for the battery to drain will help us identify the root cause
5) Please remember that after this test your Dash Cam will once again need charging as the battery will be flat.
If the battery lasts for less than 3 minutes, the battery may have reached the end of it's lifespan.
1.How do I connect my camera to a computer?
1) Plug your Dash Cam in. Ensure the cable is plugged directly into the dash cam and NOT via the mount.
2) On the dash cam's screen you'll see a menu of 3 options. Please select 'Mass Storage' on the Dash Cam screen and then OK so that only that displays on the screen.
3) If the Dash Cam does not appear as a drive on your PC, please press the reset button on the underside of your dash cam and try all the USB ports on your computer.
4) Then the Dash Cam will be visible as a removable drive on your computer. If you go into My Computer (Windows) or Finder (Mac) you will be able to see the Dash Cam listed as a drive, usually called NEXTBASE.
5) Double click on this drive. You should then see nextbase.com, nextbase.info and DCIM.
6) Double click on 'DCIM'. Inside this you'll see a selection of folders. Inside these folders are your photos and footage.
7) You can copy the files onto your PC to save, view them using your computer's media player, or view the files using the correct Nextbase app- Replay3. This can be downloaded from the above ‘Software’ section.
2.How do I set up the mobile app?
The screen saver is set to ON. Change settings to OFF if required. Default setting is OFF.
3.I am having a problem with the CamViewer app.
Please check that your Camviewer app is on the latest version available and that your phone has Wi-Fi turned on.
If you require any further help with an app issue, please contact Nextbase Support at support@nextbase.com, Live Chat or 02920 866429 (UK).
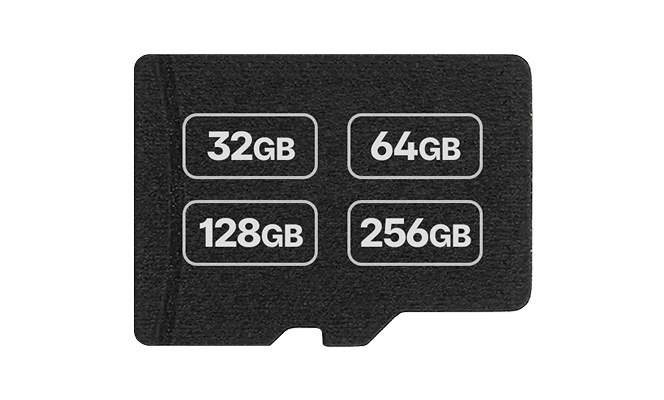
The maximum compatible SD card for the DuoHD is 128GB. We would recommend a Dash Cam compatible 8GB-128GB U3 Micro SD card, specifically designed for Dash Cam or CCTV usage. We would recommend a Nextbase SD card for guaranteed functionality within a Nextbase product.
1.Why do I need to format my SD card?
Regarding the recording lengths, the camera will record continuously in small segments. It will record these segments consecutively until the SD card is full. Then the oldest piece of footage will be deleted, and the newest will be saved in its place. This will continue looping and is called Continuous Overwriting. The Dash Cam does this automatically to allow for more footage to be recorded and the old, unnecessary footage to be deleted without manual intervention. However Protected Files are not overwritten in the same way. These can build up and prevent normal footage from being recorded. It is crucial to format every 2 weeks to delete any built-up footage.
2.How do I format my SD card?
1.Turn on the Dash Cam
2.Stop it recording
3.Open Settings by pressing the MENU button twice
4.Scroll down and then click 'Format'
5.Follow the instructions.
3.How often should I format my SD card?
It is crucial to format every 2 weeks to delete any built-up footage.
1.My mount has broken.
We have two types of mounts available; a suction cup or an adhesive mount. The adhesive mount is considerably more durable and less prone to breakage.
If your camera is within 18 months of the purchase date and you provide us with your Proof of Purchase (receipt), we can provide a replacement mount piece free of charge. Please contact our Support Team on support@nextbase.com. We will require your receipt, full name and postal address.
If your product is outside of the 18 months, or if you do not have the purchase receipt, then a replacement can be purchased from the below website:
https://nextbaseparts.co.uk/pages/dashcam-accessories
2.I need a spare part.
Any spare parts can be purchased from the below website:
https://nextbaseparts.co.uk/pages/dashcam-accessories
3.Which Hard Wire Kit is this camera compatible with?
The Series 1 and Series 2 Hard Wire Kits will work with the Series 1 model Cameras. The Series 2 Hard Wire Kit is backwards compatible.
Please check that your card is not larger than 128GB and has a minimum U1 class.
Please remove the SD card, then press the reset button on the underside of the Dash Cam. Then, without the SD card inserted, please turn on the Camera. Does it now start normally? If so, then the SD card has either failed due or is not compatible for Dash Cam usage.


